Tanning a deer hide requires a great deal of equipment, but it’s going to produce something that you can use practically forever, if you care for it properly.
Table of Contents
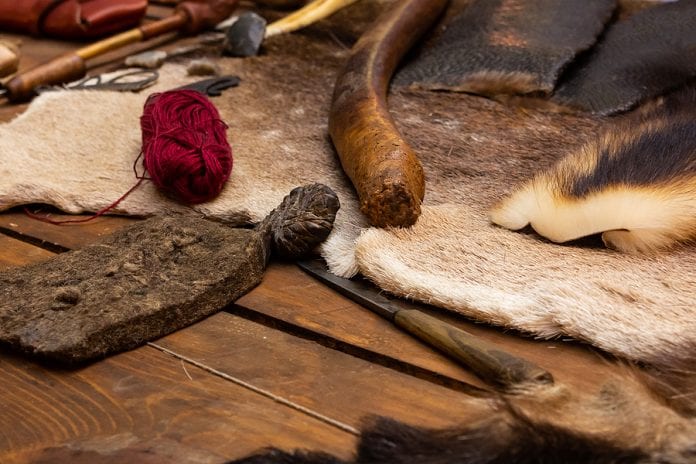
What You’ll Need
- Deer Hide
- Scraping beam
- Scraper
- Rubber apron
- Plastic bucket
- Sharp knife
- Brains/eggs
- ¼ cup olive oil/rendered bear fat
- Staking post
- 5 ft. 1/8” steel cable
- 2 cable clamps
- 3 beading needles & beading thread
- Wringing beam
- Wringing pole
- Punky wood
Step 1: Trim the Hide
The first thing to do is look over the hide to make sure it’s high quality and that there are no holes or knife marks. You then want to trim off the loose or scraggly pieces and the thick area around the neck.
Step 2: Flesh the Hide
Spread the hide over the wringing beam and scrape slowly and gradually to get rid of the flesh. You want to work in small areas at each time to keep from damaging the hide.
Step 3: Soak the Hide
Soak the hide in a bucket with a rock to make sure it stays submerged. You’ll need to move it around a bit throughout the day, over a period of several days or even weeks. You can test whether it’s done or not by pulling on the hair. If it comes out then the hide is ready.
Step 4: Prep the Hide
This is where the real work starts. You’re going to scrape off all of the layers down to the thick part of the hide that actually turns into leather. You’ll scrape everything down and then it’s time to start really getting into it.
Step 5: Membrane
Now you will scrape the underside of the hide, rather than the side with the hair on it that you’ve done already. Use the same process, including scraping small sections and being careful not to break through the hide.
Step 6: Wringing
This is where you’re going to wring out the hide. Make sure that you wring out as much as you can without making it completely dry. The hide should be slightly damp.
Step 7: Second Soaking
You’ll need a mix of approximately 1 pound of brains or a dozen egg yolks broken down into small pieces, ¼ cup of olive oil or rendered bear fat and approximately 1 ½ gallons of hot water. Mix this all together and soak the hide in it to saturate. You may want to soak it somewhere between 15 minutes and overnight.
Step 8: More Wringing
You’ll wring out as much of the mixture as possible into the bucket and then lay the hide over your wringing pole and twist it to wring. Repeat the process of soaking and wringing it out up to 4 times to make sure it’s fully saturated.
Step 9: Soften
Softening is where you’ll stretch the hide in all directions. You can also use staking, cables and more to carry it out.
Step 10: Smoke
You’ll dry out the hide and make sure it’s completely dry and soft. Then you smoke the hide with a wood stove, a metal can or even a hole in the ground. You want to have a good amount of coals on your fire and put those coals with the punky wood into your stove. Hang the hide over the coals to make sure the smoke gets into it. This could take up to 3 hours then flip the hide and repeat on the opposite side.


